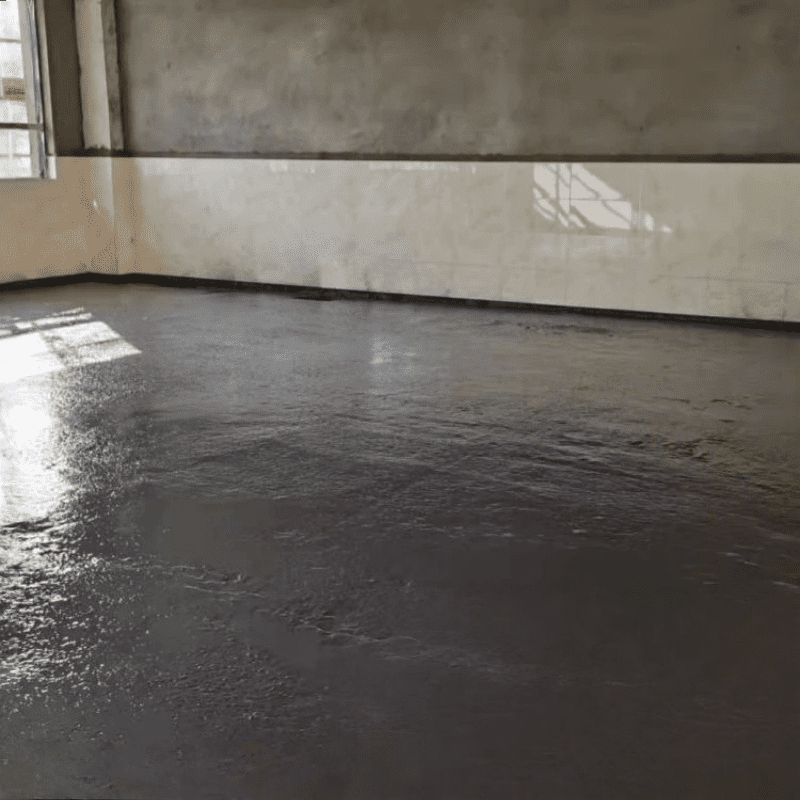
In the architectural world, noise is a structural defect that you can't see, but you can definitely feel. While traditional soundproofing often involves heavy drywall and thick insulation, Sound insulation paint (also known as Acoustic coating) has emerged as a high-performance, space-saving alternative.
However, let’s be clear: a bucket of Soundproofing paint is only as good as the technician applying it. To achieve a measurable reduction in decibels, you must move beyond the "paint" mindset and adopt a "system" mindset. This guide outlines the exact Construction Guideline, tool requirements, and technical nuances required to turn a standard wall into a Noise reduction system.
Understanding the "Damping" Effect: Why It Works
Before we pick up a spray gun, we must understand the core logic. Standard paint is thin and rigid; it reflects sound or lets it pass through. Sound insulation paint, however, is a viscoelastic material.
Think of it as a microscopic shock absorber. When sound energy (vibration) hits the coating, the material's internal friction converts that movement into a tiny amount of heat. This is called "damping." By applying a vibration-damping coating, you are essentially "quieting" the wall itself, preventing it from acting like a speaker diaphragm that transmits noise from one room to another.
Essential Tools for the Job
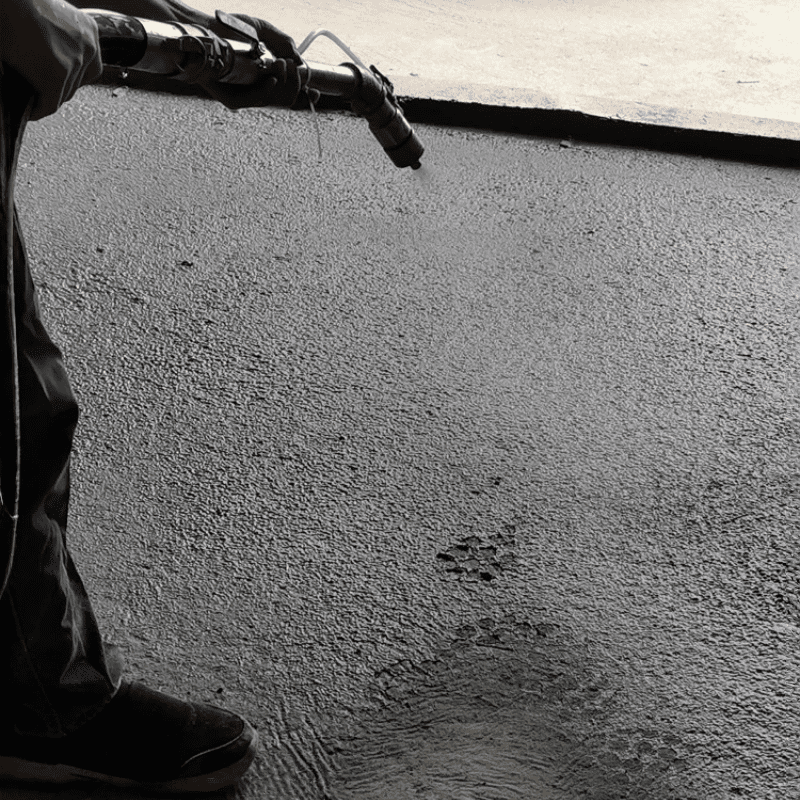
You cannot apply a high-build Acoustic coating with the same tools you use for a bathroom refresh. Because of its thickness and viscosity, you need professional-grade equipment:
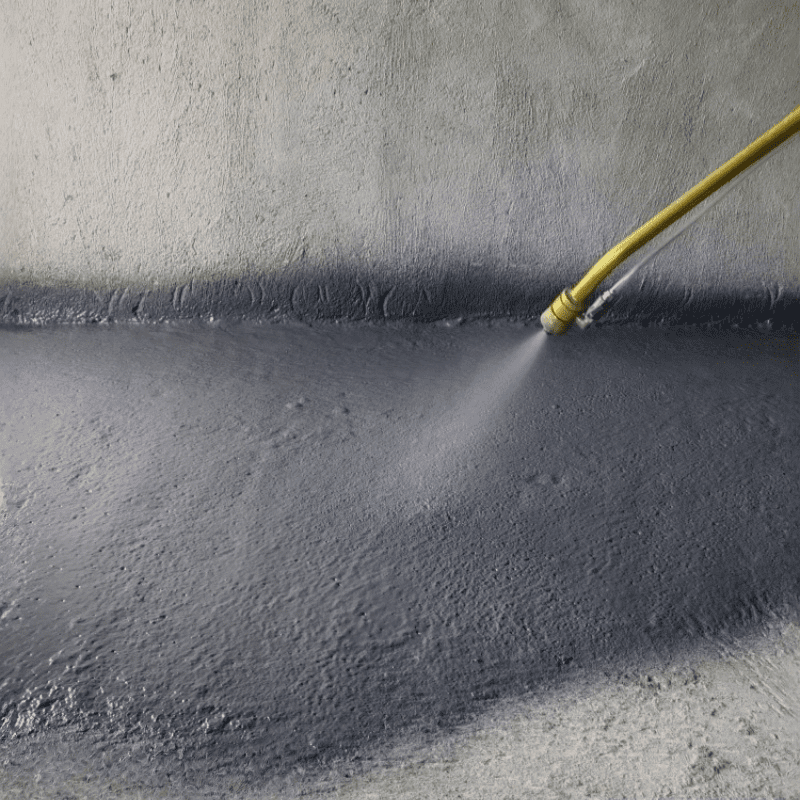
High-Pressure Airless Sprayer: To handle the density of Sound insulation paint, a sprayer with a large orifice tip (typically 0.031" or larger) is required. This ensures a consistent, heavy-build application without clogging.
Texture Rollers (Honeycomb/Sponge): If you are rolling instead of spraying, a thick, textured roller is necessary to maintain the "wet film thickness" required for acoustic performance.
Wet Film Thickness Gauge: This is non-negotiable. You cannot "guess" the thickness. A simple comb gauge helps ensure you are meeting the 2.0mm to 3.0mm requirement.
Industrial Defoamer Roller: Used to break up air pockets and ensure the coating is dense. A porous coating is a failed coating.
Industrial Vacuum & Scrapers: For the critical substrate preparation phase.
Step-by-Step Construction Guideline
To achieve professional results, follow this 5-stage protocol used by top-tier acoustic contractors.
Step 1: Substrate Preparation (The Foundation)
The wall must be "clean, dry, and stable."
Inspection: Check for cracks or depressions. Use an epoxy putty to fill any gaps.
Cleaning: Use an industrial vacuum to remove all dust. If there is oil or grease, the Acoustic coating will delaminate within weeks.
Moisture Check: Ensure the concrete moisture content is below 8%. If the wall is "breathing" moisture, it will push the coating off the surface (osmotic blistering).
Step 2: Priming for Adhesion
Never apply Sound insulation paint directly to bare concrete or drywall. You must use a high-penetration primer. This "locks" the dust and creates a chemical bridge between the substrate and the heavy acoustic layers. Allow the primer to dry for at least 4–6 hours, depending on humidity.
Step 3: Layered Application (The "2-3mm Rule")
A common mistake is trying to apply the full thickness in one pass. This leads to sagging and cracking.
First Coat (The Base): Apply a layer of approximately 1.0mm. Focus on full coverage.
2.Drying Time: Wait for the first coat to become "touch-dry" (usually 12 hours).
Second Coat (The Build): Apply the second layer to reach the target thickness.
Total Recommended Thickness: For residential walls, a total dry film thickness of 2.0mm is standard. For industrial machinery or noisy pipes, we recommend 3.0mm.
Step 4: Defoaming and Leveling
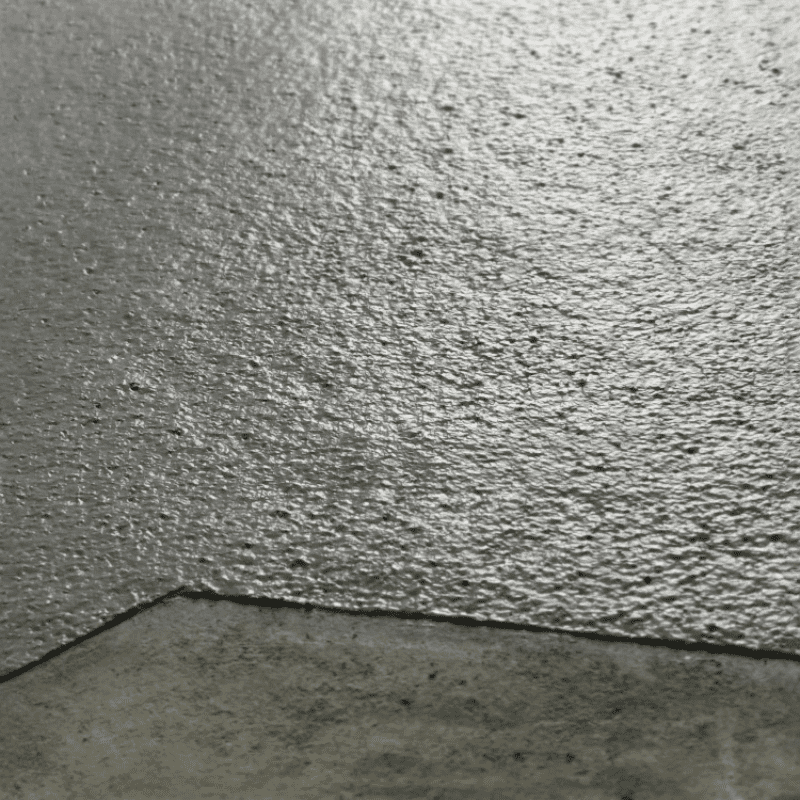
Immediately after the second coat is applied (within 5–10 minutes), use a defoamer roller. This "squeezes" out trapped air. In Acoustic insulation, density equals performance. Air bubbles act as paths for sound to travel through, so this step is critical for Noise reduction paint success.
Step 5: Curing and Protection
The floor or wall must be kept free of dust and traffic for at least 24 hours. Full chemical curing (where the coating reaches its maximum "rubbery" state) takes about 5 to 7 days. During this period, avoid strong winds blowing directly on the surface, as this can cause surface cracking.
Critical Construction Precautions
If you ignore these environmental factors, your Soundproofing paint project will fail:
Temperature Window: Only apply between 10°C and 30° If it's too cold, the resin won't cure; if it's too hot, it will dry too fast and crack.
Humidity Limit: Never apply when the humidity is above 75%. High humidity prevents the water in the coating from evaporating, leaving you with a soft, ineffective mess.
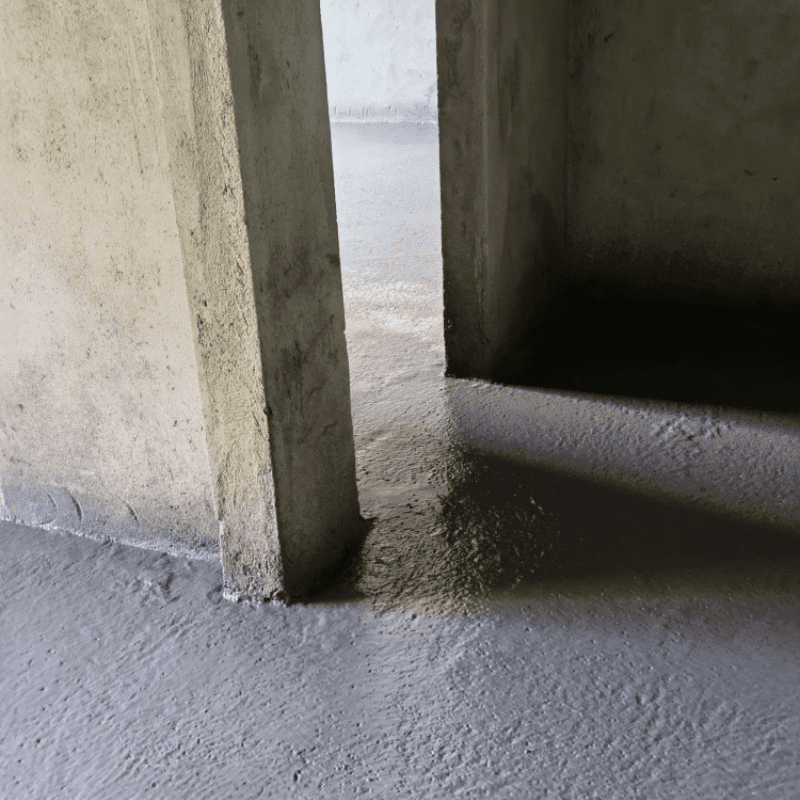
Corner Management: Pay special attention to corners and joints. Sound is like water—it finds the smallest gaps. Ensure the coating is extra thick at the wall-to-floor and wall-to-ceiling junctions.
Ventilation: Keep the space well-ventilated during the curing phase to allow moisture to escape, but avoid direct high-velocity fans.
Performance Standards: What Should You Expect?
When applied at the recommended 2.5kg/m² dosage (achieving roughly 2.0mm thickness), a high-quality Sound insulation paint can provide:
Decibel Reduction: A drop of 3 to 8 dB in mid-to-high frequency airborne noise.
Vibration Reduction: Significant suppression of structure-borne noise (like slamming doors or humming pipes).
Fire Safety: Most professional systems achieve a Class A or B flame-retardant rating.
The ROI of a Professional Noise Reduction System
Why invest in this over traditional methods?
Space Saving: You gain soundproofing without losing 5–10cm of room depth to traditional batts and studs.
Versatility: It can be applied to curved walls, complex pipe geometries, and ceilings where traditional panels are difficult to install.
Integration: Once cured, it can be finished with a standard topcoat to match your interior design, making the Acoustic coating invisible but effective.
FAQ: Professional Contractor Insights
Q: Can I use a standard house-paint roller?
A: We don't recommend it. You need to apply a high volume of material. A standard thin-nap roller will only give you a decorative texture without the vibration-dampening coating thickness required for sound reduction.
Q: How do I know if I’ve reached the right thickness?
A: Use a Wet Film Thickness (WFT) gauge. If you want a 2.0mm dry finish, you usually need to apply around 2.5mm–2.8mm of wet material, accounting for minor shrinkage during drying.
Q: Is it safe for indoor use?
A: Yes. Modern Sound insulation paint is water-based and low-VOC, making it safe for bedrooms, nurseries, and offices.